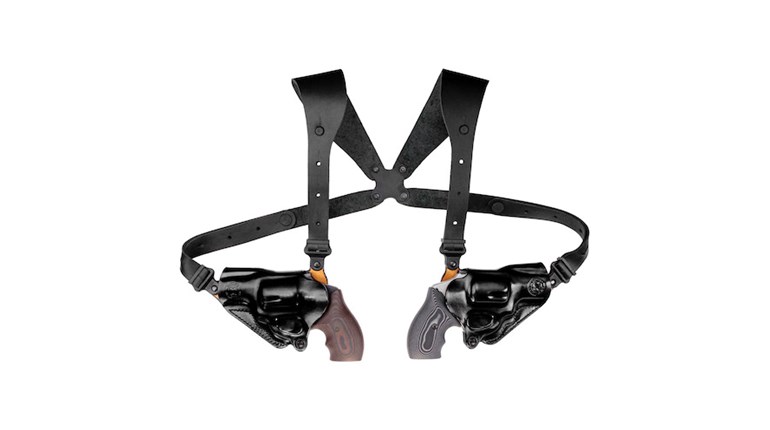
The most-popular holsters in use today are made of Kydex or similar hard materials and generally attach to the waistband or belt; however, some clothing and carry situations require what I’m going to call alternative holsters—items like belly bands and corsets, shorts and tank tops or bra holsters. These may meet needs others can’t.
“I was a mom with four small children,” said Anna Taylor, founder of the Dene Adams line. “I was bending, reaching, driving, chasing and jumping on trampolines! The holsters I tried were all difficult to conceal, or too heavy on leggings, or I had to take them off to go to the bathroom. I tried purse carry, but worried I might accidentally set it down. So, it needed to be on-body but to work with my lifestyle.”
Using these alternatives, however, introduces a different set of problems in safely drawing and holstering your gun; you need to train to deal with things like retention straps. It’s wise to seek advanced training and dry practice—a lot—in front of a mirror as you observe all of the safety rules.
Drawing
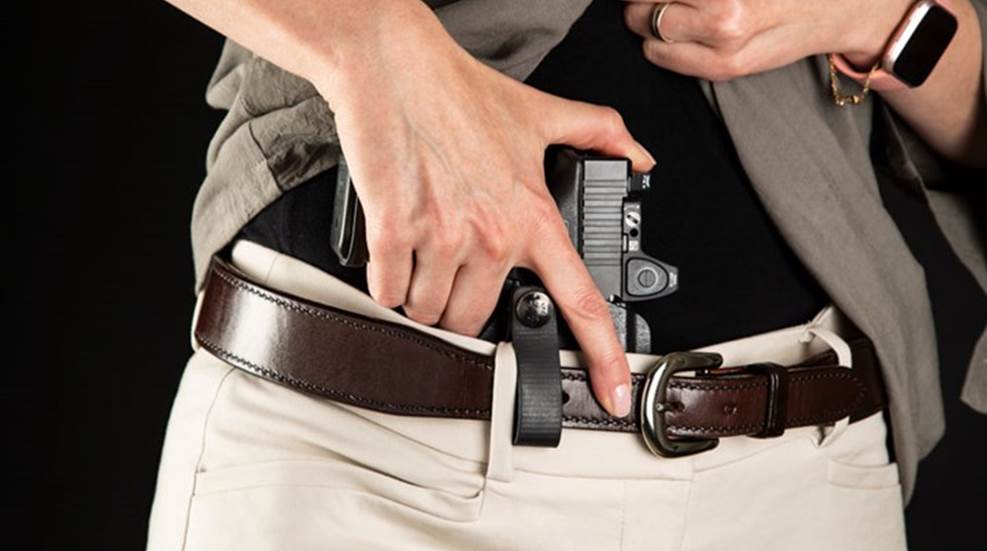
1. Make a claw of your non-dominant hand to sweep away concealing clothing. Note it may be more difficult due to these holsters’ placement to move clothing out of the way efficiently and to keep your support hand out of the way as you draw.
2. Pull up the retention strap with your dominant hand. Consider whether you even need the strap, as many of these either have a molded Kydex holster inside the soft material or are otherwise tight enough to retain the firearm. You may need it particularly for exercise. Some holsters use break-away straps that ostensibly disconnect and stay out of the way as you draw; however, you should verify in dry practice that these work as advertised.
3. Establish a good grip on the gun while keeping your trigger finger outside the holster and use your thumb or the back of your hand to keep the retention strap up. Some of these alternative holsters don’t include a specific trigger guard, so, in a worst-case scenario, the trigger could be unintentionally activated. Leather or Kydex trigger guards are available for alternative holsters and you should choose a brand that includes one or allows you to add it on (CrossBreed, Galco and Dene Adams, for example). Even with a reliable trigger guard, you’ll need to practice keeping your trigger finger outside the soft holster’s mouth such that it will land on the slide as you draw; you’ll also need to get used to getting the retention strap out of the way as you reach for your gun.
4. Pull the gun from the holster, verifying in the mirror that the muzzle never sweeps you or bystanders. Exercise extreme caution. “That’s the huge thing with these different kinds of holsters,” said Joy Hicks, an NRA instructor who frequently trains women using alternative holsters. “You may have to orient your body so you don’t sweep other people or your own arm. When you pull your gun, your muzzle needs to be pointed at the target.”
Each alternative holster requires a different draw motion:
a. Belly band/corset: Drawing will strongly resemble in-the-waistband holsters, which explains part of their popularity. Pull straight up.
b. Tank top/under-the-arm: If you can avoid these—especially if you’re new to drawing—do. When cross-drawing from under your arm, you could easily point the muzzle behind you or toward yourself (chest or arm). You also may block your own vision as you draw upward. Luckily, there are so many options now it’s difficult to imagine why you’d have to choose these.
c. Shorts/thigh: You can usually draw straight upward with thigh holsters, but the ones built into shorts might not give you enough space, so you may have to angle the muzzle slightly. Keep the angle minimal so the muzzle still points to the ground as you draw.
5. Bring the gun into your normal “work space” and continue your usual draw stroke.
Holstering
Remember, all holstering should be done slowly and with great care, strictly observing NRA rules for safe gun handling.
1. Consider removing the alternative holster if you can safely do so with only your support hand. This is feasible mostly with pocket holsters and belly bands. Watch the muzzle as you insert the gun back into the holster; never sweep yourself or others; put the holster back on.
2. To holster without removal:
a. Make a claw of your non-dominant hand and use it to sweep away concealing clothing.
b. Use your non-dominant hand to clear the retention strap if there is one.
c. Make a C shape with your support hand to open a soft holster. The C faces downward, with the thumb against you (and holding back the strap if necessary) while the other fingers push open the holster mouth.
d. Without sweeping your support hand or body, bring the firearm, muzzle down, to the holster’s opening. The top of the gun’s slide should line up with the middle of the C-shaped opening of your hand.
e. Put your dominant-side thumb on the back of the gun’s slide (if applicable) to prevent it from being pushed out of battery, and slowly push the gun down into the holster.
If you must use an alternative holster, train until the motions are practically printed onto your DNA. “Every holster has its challenges,” said Hicks. “It’s just training, training, practice, practice and especially thinking about the orientation of the muzzle when you draw no matter what you choose.”


