During your introductory pistol training, you were likely told to bring the front sight or dot into the sharpest focus possible while allowing your target to blur. This was and still is the best way to produce your most-accurate shot; however, accuracy comes at the cost of speed, and when fractions of a second could cost lives, one must weigh accuracy against speed.
It’s important to immediately begin building a distinction between target shooting and shooting to survive. Taken to an extreme, survivors have attested to using nothing more than their body position to aim the gun. Getting to this level, though, often involves breaking free of your original marksmanship training and, thus, becoming target-focused instead of sight-focused.
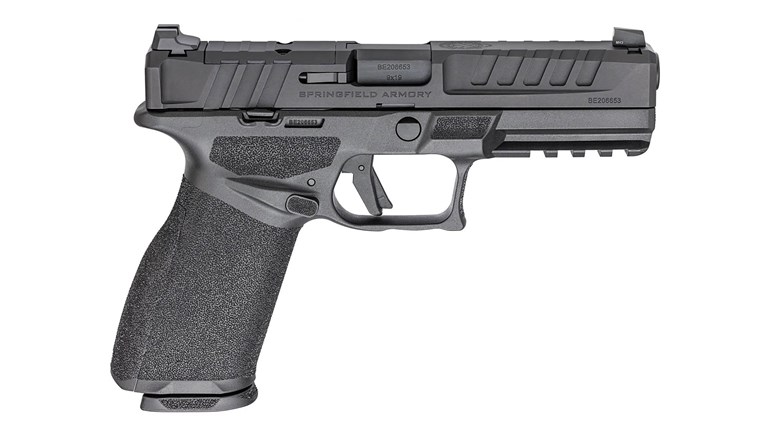
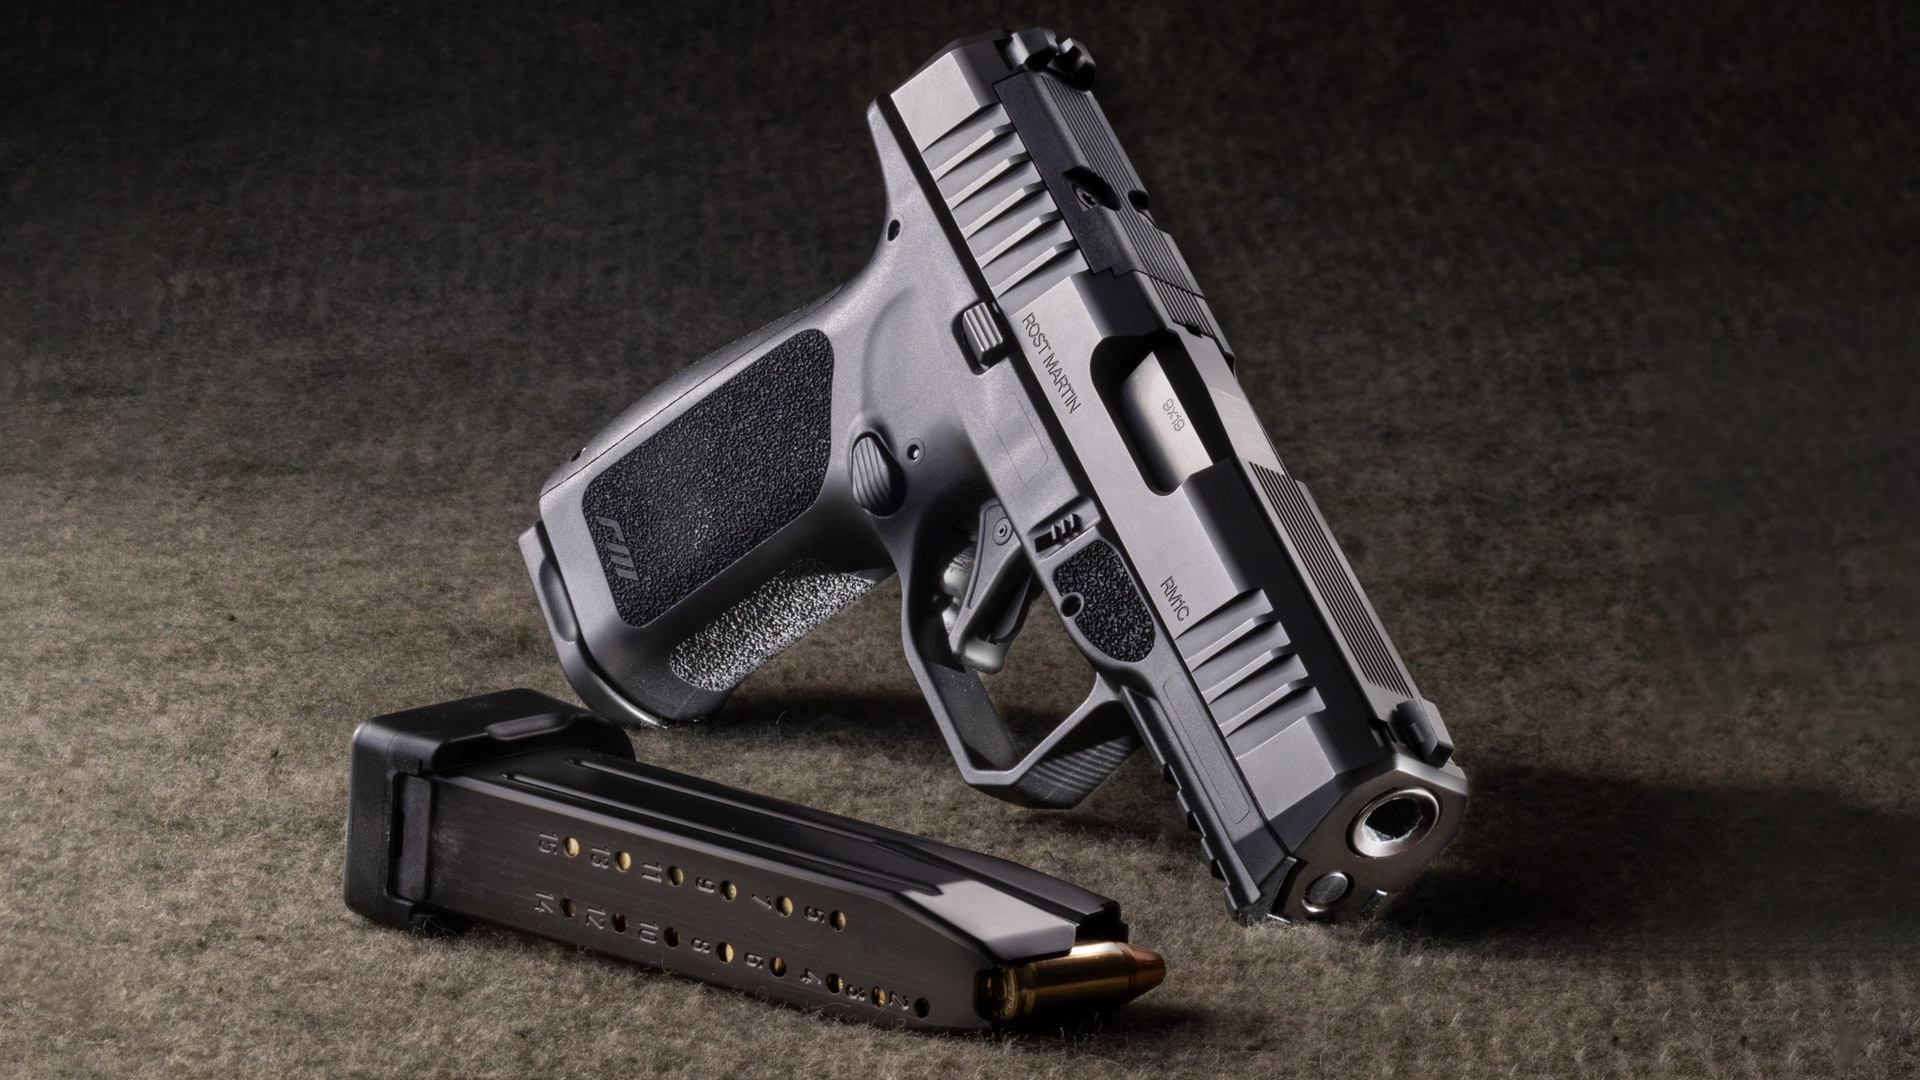
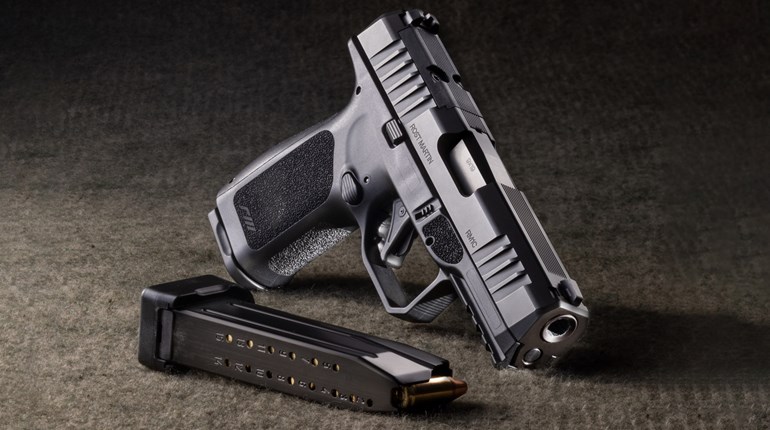
One of the best ways to do this is to work with an optics-clad pistol that has an occluded or blocked-out sight window. Now, you might think this is a drill to help develop point-shooting techniques, but if you’re using optics, it’s not. Your brain will still see a dot superimposed over your target, but only if you keep your eyes down range. And, by staying focused there, you’ll find that you remain in contact with the situation, get on target faster and move to the next target more efficiently.
Everything you need for this pair of drills is likely already in your range bag. Pretty much anything can be used to occlude your dot, with some materials being better than others. Some suggest using a target paster (the stickers you can use to cover holes in a target so you can re-use it), but those often leave behind a film, and removing one might require a solution that could damage the special coatings on your optic’s lens. Blue painter’s tape typically solves that problem, but sometimes comes off in the middle of your practice session. White masking tape is a good balance, and if you’re careful, you can affix it to the housing without making contact with the glass. Perhaps the best option is to modify the optics cover that came with your pistol. If you’re willing to permanently adapt it, use a pair of scissors to trim off the parts that cover the rear of the window and emitter, as both of these areas need to be clear for the drill to work.
Once you’ve found a way to occlude the front of the optic, all you need are two identical targets hung approximately 5 feet apart and placed 7 yards down range. These can be whatever you like, but I’ve found targets with 3-inch dots best.
Phase One: Drawing to the Target
To remain target-focused, you should start that way—even when your gun is in its holster. This phase will introduce you to the motions while preparing you for the more complicated phase that follows.
1. Build your typical pistol stance with an unloaded handgun in your holster.
2. Place both eyes on a specific area of the target (e.g., the central scoring ring).
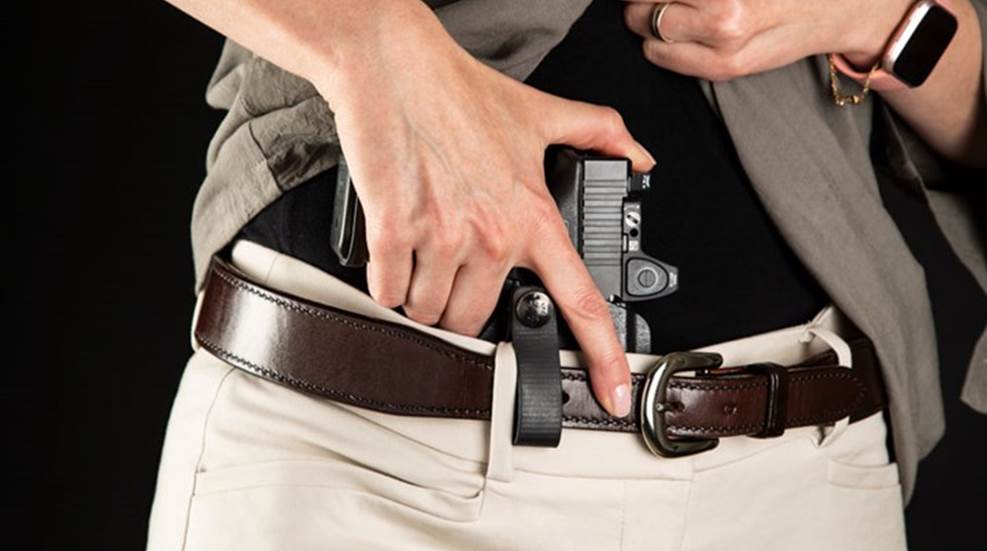
3. Without moving your head, neck or shoulders, and keeping your eyes on the target, draw your gun and place the dot on the area you selected.
4. Repeat this process five times, gradually increasing speed.
5. Load the gun, engage the mechanical safety (if present), and carefully holster.
6. Draw and fire one shot using the techniques you rehearsed in steps 1-3.
7. Repeat 20 times.
Phase Two: Target Transitions
Heavyweight boxing champion Mike Tyson once said, “Everyone has a plan until they get punched in the face.” That is, our ability to concentrate is significantly reduced once a significantly distracting event takes place, like firing a gun. Changing your focus from one target to another can lead to swinging past the secondary target, requiring you to correct your sight picture when you need to be pressing the trigger. This next phase helps you to remember to employ your newfound skill even as you change targets.
1. Build your typical pistol stance with a loaded handgun in your holster.
2. Place both eyes on a specific area of your target.
3. Without moving your head, neck or shoulders, and keeping your eyes on the target area, draw, place the dot on that area, and fire one shot.
4. Immediately snap your eyes (and head, if needed) to the identical area on the right target.
5. Allow your gun to follow your eyes (never the other way around).
6. Fire one shot.
7. Repeat 15 times.
With a little practice, this routine will become second nature while also preparing you for a situation involving a damaged sight window or one that is occluded with dirt, mud or similar debris. Most importantly, it’ll stop you from closing an eye when you shoot, increasing not only your effectiveness with a firearm but your situational awareness as well. Training to faster identify and address a second threat is going to provide more value than perfectionist shot grouping.


