For many people cleaning their gun consists of wiping the dust off of the slide and putting it back into the safe once they leave the range. However like any mechanical device, your handgun requires regular maintenance and cleaning. The question of how much cleaning it needs is determined by how much you shoot and the conditions in which you are shooting. In the era of Glock and other durable handguns, some might argue that pistols don’t need to be cleaned very often. I personally encourage you to clean your gun after every shooting session. This is especially true if this gun is a personal defense weapon. Many of you probably now are rolling your eyes because there is a belief that gun cleaning is a long and arduous task. It is not, however; and, in fact, it can be a relaxing way to wrap up a range session. Let’s take a look at the simple fundamentals of cleaning your handgun.
Before you start
- First, we have to consider safety. Before you begin cleaning your gun, make 100 percent certain that it is unloaded. It is also a sound safety protocol to remove any ammunition from the cleaning area. These are non-negotiable terms and should be considered a starting point for any cleaning.
- The second item on our checklist is a pair of safety glasses. It is important to protect your eyes from any debris, springs or cleaning solution that might go astray during the cleaning.
- The last thing before we go to work it to select an area that is well ventilated. Some cleaners are powerful and can be problematic in small enclosed spaces.
Supply list
Now, let’s take a look at what you will need.
- A mat or protective cloth for your table or counter.
- A cleaning rag
- Cleaning patches
- Cleaning rod or bore snake
- A toothbrush or gun cleaning brush
- Cotton swabs
- Cleaner and or lubricant. Many are combined into one formula now.
The steps to cleaning
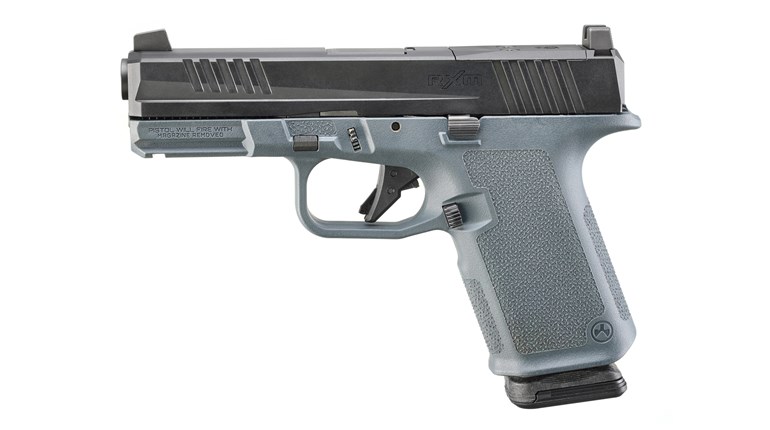
We are now ready to get down to business. Our first step in the actual cleaning process will be the field stripping of your handgun. There are different levels that you can break your handgun down to. Field stripping is the simplest and is designed to allow us to clean the gun thoroughly. It usually entails removal of the slide, recoil spring and barrel. Unless you plan on doing specific maintenance or a deep cleaning, there is no need to go any further. If you are uncertain on how to do this, check your owner’s manual. It will provide detailed instructions on this process.
Once broken down, our first stop will be the slide. This is where a majority of the carbon will be. Spray your cleaning solution liberally on the exterior and interior of the slide. Make sure, however, to avoid getting any solution in the firing pin chamber as this can cause issues down the road. Let the slide sit for a few moments, then use a toothbrush or gun cleaning brush to scrub the underside of the slide. Pay close attention to the rail slots and rear of the slide where safeties might be. Once it is scrubbed, you can begin to wipe away the dirt with a clean rag. Get into the small areas as much as possible and wipe away dirt and any remaining cleaning solution. At this point cotton swabs become helpful. They allow you to reach areas that are tough to get with just your hands and a rag. Continue until the swabs stop picking up dirt.
Next, repeat this process with the frame. Look for carbon deposits around the trigger well especially.
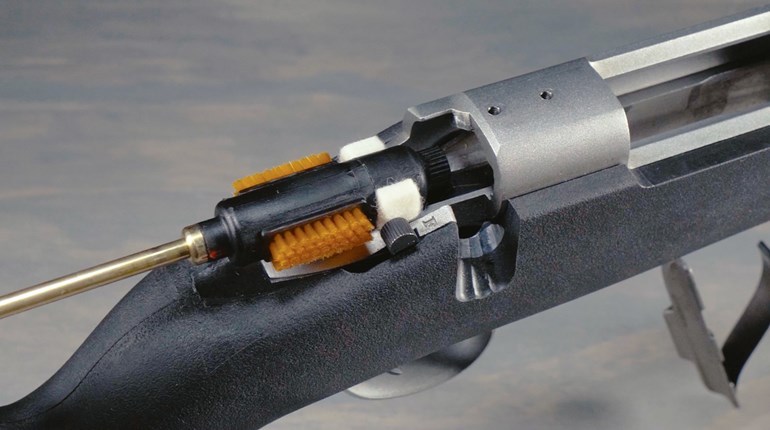
Once we have the slide and frame clean is it time to work on the barrel. In this case we can use a more modern bore snake or a cleaning rod and patches. To use a snake, spray the inside of the barrel with cleaning solution. Let it set a few minutes the insert the snake at the rear of the barrel with the weighted lead coming out of the front. Grasp the cord and firmly pull the snake through the barrel. It can be snug, so pull with intent. Repeat this process three or four times or until the barrel looks shiny clean inside. You will need to use a rag to clean the exterior of the barrel as well as the feed ramp. If you choose to use a cleaning rod, follow these steps. Insert a cleaning patch with solvent from the breech and push outward. Continue this until the barrel is soaked. Remove the patch holder from the rod and attach a bronze or nylon bore brush and push it through from back to front. Now unscrew the brush, remove it, and pull the cleaning rod back through. Reattach the brush and push it through again, repeating the process as necessary until the carbon inside is loosened. Then go back to the patch holder and push patches through until they come out clean. This is a little more time consuming but allows you to visually confirm the barrel is clean.
The last cleaning point will be the recoil spring. Use the same method you used on the slide and frame.
Once everything is clean it is time to lubricate the gun. There are many opinions on how much lubrication is required. My personal opinion is that guns should be liberally lubricated. Ultimately you should follow the manufacturer’s guidelines for the application of lubricant. Contrary to a current myth, all pistols need lubrication.
After it’s clean and lubricated, it’s time to put the gun back together. As always, follow the manufacturer’s guidelines. Reassemble your pistol and perform function checks to make sure everything is in working order. Ultimately we are accomplishing two major things with our gun cleaning. We are extending the life of our investment and ensuring our gun is ready to function should we ever need it in an emergency. Take the time to keep it clean!


