Take a careful look at your favorite handgun shooting hero (or heroine), and you won’t go long before you notice a common characteristic: When they run their firearm, it’s astonishing how “quiet” the gun is as each infuriatingly, dazzlingly accurate shot is executed.
It’s tempting to lay this off on big, powerful mitts, and this is assuredly a common characteristic. But casting a somewhat wider net, so to speak, reveals that this is hardly universal. Take a look at top female shooters, for example, and you immediately stop seeing ham-like hand dimensions and 12-, or even 10-gauge, fingers. Yet the results are the same. Clearly, there’s another explanation for the stable platform that makes those precise shots possible, over and over again.
We suggest that the deconstruction of those marvelous results into the techniques that achieve them must come in two parts: architecture and mechanics. Architecture is this week; mechanics, next.
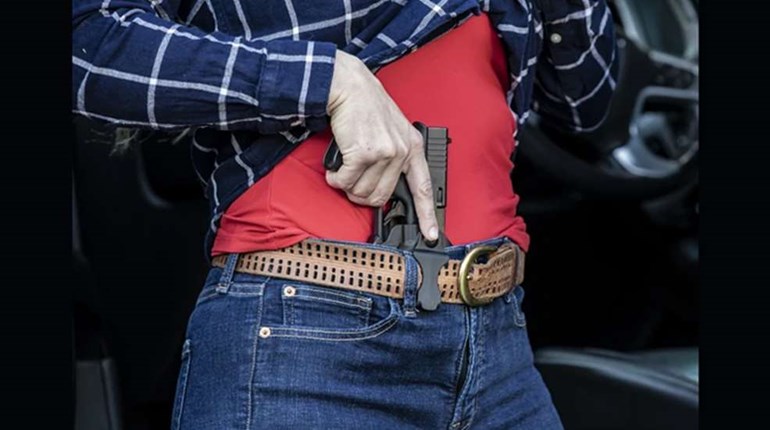
Architecture, as the term suggests, is a static—though transient—notion: a result. A good way to think of it is as the end state of Carry Life Draw (parts one and two). With the exception of the index finger’s movement to the face of the trigger (the “mount”) that occurs during the last stages of the draw, it’s the point where the draw ends and the shot begins. It’s quippy, to be sure, but the “grip it and rip it” philosophy has room for little but disaster when applied to your handgun.
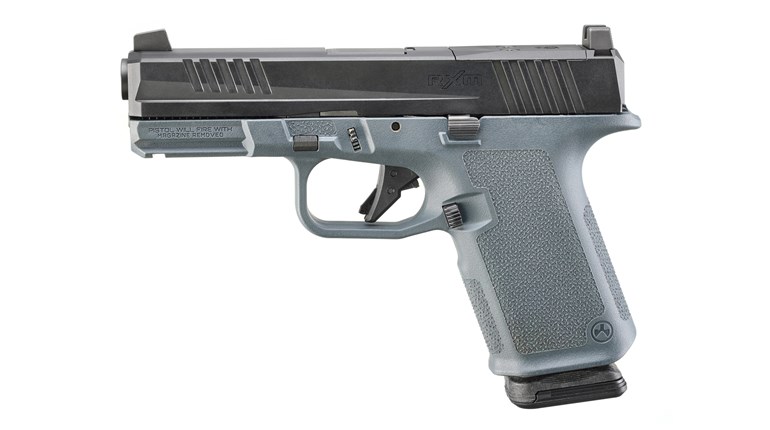
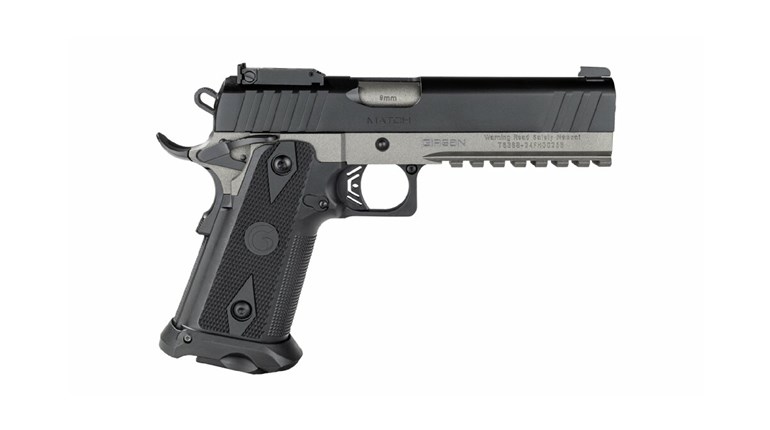
Differences in proper grip architecture can be driven by literally dozens of factors, many of which have to do with physical differences between shooters. The type of firearm, too, has a big impact. There are common elements, however, and these apply to every shooter. For now, we assume a two-handed grip.
Foremost, we want as much of both hands as possible on the firearm. This comes naturally for the strong (or master) hand, although there’s a tendency to “squeeze” the fingers too tightly (more on this when we get to mechanics). A good visual test of finger tension is available: The fingernails should blanch (turn white). If you start to shake, even a little, that’s too much pressure.
A common error on the strong hand side is not to get “high and deep” in the gun. This occurs when the web of the hand between thumb and fore/index finger isn’t hard up against whatever beavertail your pistol presents (or tightly across the backstrap of a revolver). This is absolutely crucial not only for good control in recoil (the follow-through of the shot), but also for reliable gun function in an auto-loader. When you aren’t high and deep, the wrist can rotate, robbing the pistol of energy it needs to operate. This is especially true for smaller firearms of concealed-carry scale.
The weak hand is where the worst under-utilization occurs, and often where the “big dogs” secure their apparently massive advantage. Ideally, a full 60 percent of firearm retention pressure comes from that weak side hand, but only if you know how to get it in the proper position.
The first problem here is “burying” the strong side thumb. Broadly speaking, this is where the right thumb (for a right-handed shooter) wraps around the grip and is covered—that is, buried—by the palm and thumb of the left or weak hand. While this gives a secure feeling for the right hand, it means the weak hand is now essentially along for the ride, with no chance of that 60-percent retention pressure ever happening. It simply has too little purchase to be of real value.
Instead, raise that strong side thumb, and slide the weak/left side thumb in underneath it (sometimes referred to as "thumb over thumb"). In the form of the base of that thumb and part of the palm, more of you is now on the pistol and can reduce the amount of recoil, per unit area, that you must control. It’s Saint Isaac’s 3rd Law, plain and simple.
Last come those weak side fingers. Modern doctrine has split (not for the first time!) on proper index finger position. Those textured, even curved fronts on trigger guards seem like a natural resting place for this digit, but we disagree on the grounds of “sympathetic reflex.” This refers to the tendency of the central nervous system to operate nerves and muscles in bilateral pairs, at least to a modest extent. What this implies for the weak side index finger is simple: At the precise moment you’re completing trigger press on the strong side, your brain is sending the same curling/pressing signal (much weaker, granted) to the weak side index finger. On the front of the trigger guard, the mechanical advantage of this response is considerable, and precisely timed to misalign the barrel/sights at the crucial millisecond of trigger break.
The problem with our objection is manifest in perhaps the pre-eminent shooter of all time: Jerry Miculek. At 11:30 in this video, Jerry talks about this in detail, and clearly it works for him—to the tune of 100-plus national and international titles. Sigh.
So where do we recommend the fingers go? The index finger should be hard up against the bottom of the trigger guard, with the remaining three following suit, wrapping into the natural finger grooves created by the strong hand fingers wrapping around the front of the pistol grip. In this position, that (theoretically problematic) sympathetic reflex is now working for you, increasing weak hand gripping tension on both sides of the pistol.
Final position of the thumbs is another debated point. Jeff Cooper (famed for many things, but particularly this) was a fan of high thumbs: When he walked down the line behind shooters, he wanted to see thumbnails. This was mostly practical, as it made certain that shooters were “high and deep” in the gun, much as we’ve recommended.
We prefer (in agreement with Jerry Miculek), that the thumbs point toward the target. The reasons for this are two-fold, and transition us into mechanics next week. But for now, this is still important: Pointing the thumbs at the target has “gross” aiming utility. Other than the index fingers (already occupied, especially on the trigger), the thumbs are actually the most accurate pointing digits: They point at the tips of your other digits with great precision all day long in every act of grasping. Don’t underestimate this. By getting them downrange at the target, aiming is now neuro-muscular, and not solely visual!
Getting the architecture correct—and remember, we’re talking about a momentary but consistent muscular/skeletal configuration here, not a dramatic halt—can be easily practiced. To get the feel right, try this with an unloaded pistol or non-firing simulator: Grip your simulator properly in the right hand (either in your holster, or at low ready), pick a target, and stick your weak hand/arm, fingers outstretched, at that target.
Now drop the wrist (like shaking hands) as far as it will go. Bring the strong hand up, and, as you join hands, “collapse” your grip together: weak side fingers first on the frontstrap, the top of the index finger to the bottom of the trigger guard, and finally strong side thumb down on top of weak side thumb. Once you get used to the collapse motion, work on even pressure on each side of the gun. When complete, you should feel a lot of grip under the weak side palm, and this will likely be new—especially if you were a “thumb burier.”
As the shampoo bottle recommends, “Rinse, lather, repeat.” Next week, we’ll see how this grip architecture interacts with mechanics to keep even those bigger calibers astonishingly flat, and surprisingly soft shooting.
Now Carry on.
Read Part II here


