One of the many things bringing people to the shooting disciplines is concern about personal safety. Despite being protected by (easily) the most professional cops in the world, Americans are deluding themselves if they believe law enforcement can arrive in timeframes that equate to meaningful personal security. Disaster strikes in seconds, usually well longer than it takes to get a connection on your cellular phone. The overall odds of trouble are thankfully low, but when it comes, you’ll almost certainly be on your own. Only the shabbiest sort of elitist or wishful thinker will try to convince you otherwise. Certainly, data like this are not encouraging.
But if you’re a “Carry Lifer,” you take this seriously by definition. It’s likely too, that you have a good idea where we’re headed with a discussion of “Difficult Hand Positions.” Simply, it’s an acknowledgement that a real-life, real-time need to defend yourself with a firearm isn’t likely to bear any resemblance to the paced, single-posture, lane-oriented, familiar-target shooting we practice the most.It’s arguably the most critical case of trading the ability to make a perfect shot when you wish for an acceptable shot when you must.
Where this badly distressed rubber meets a shockingly pot-holed road is often in hand position. It’s arguably the most critical case of trading the ability to make a perfect shot when you wish for an acceptable shot when you must.
The “why,” most of us know, or at least have experienced: Not only are some real-world hand positions harder to produce hits with, they are harder to keep the firearm running from.
Which is exactly why we should practice them more than we do.
In a recent "Exercise Your Freedom" column, we reprised one-handed mechanics (also here and here) and added transitioning of the pistol between the hands. We posited this as the logical place to start considering difficult hand positions because it’s a relatively small “doctrinal” departure from what we do practice frequently—relatively traditional presentation or draw (and here), and aimed fire using the sights. Do the exercise we suggest, and most will see their one-handed shooting improve, and movement of the pistol for shooting around obstacles/from behind cover get faster and more sure-handed.
Where this runs afoul of the real world presents a second, interwoven difficulty—it may still be too slow to meet and thwart a threat. If you doubt this, take a look here: If the video doesn’t make clear why we’re concerned about speed, then we don’t know what will.
A first technique to consider adding to your repertoire to improve speed and keep your firearm functioning isn’t remotely new, and will be encountered—perhaps not by name, exactly—as a part of many speed prescriptions: elbow up, elbow down.
Many attributes commend this method of deploying your firearm. It is adaptable to virtually any strong-side draw stroke and carry position, and the last half (elbow down) is the essential concomitant of the big philosophical departure it embodies compared to most of our practice—point shooting.
“Point shooting” is a common but unhelpful double entendre. Some misunderstand it to mean shooting in a manner that hits a precise location—a point—but this also implies there’s such a thing as non-point shooting, in other words, inaccurate shooting. Clearly, it’s a silly, dangerous conception for reasons that need no explanation. Most of us “point shoot” to a greater extent than we generally appreciate.
The actual meaning of point shooting is quite different, and we’ve touched on it frequently (here, for instance). It’s a skillset and body of methods that use the highly developed human reflex of pointing or designating objects with hands, fingers and eyes. Most of us “point shoot” to a greater extent than we generally appreciate, and elbow up, elbow down seeks to join rapid deployment with this surprisingly precise neuromotor facility.
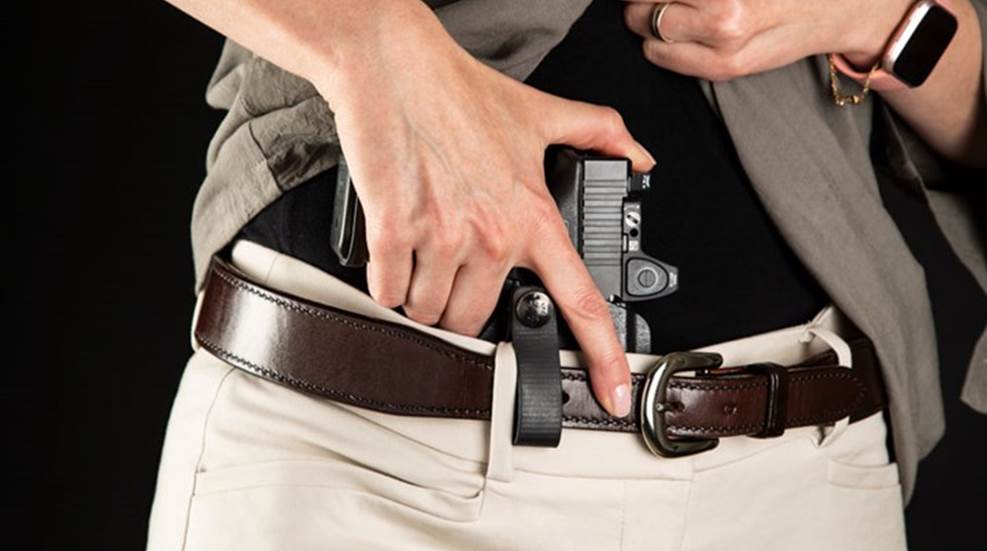
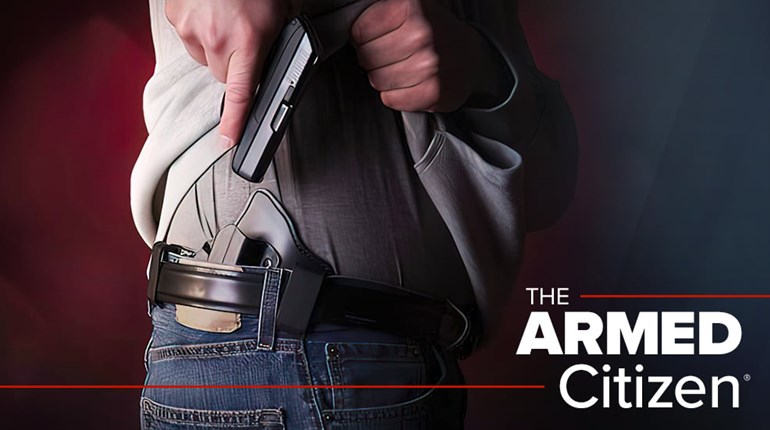
Mechanically, it’s simple. After any cover garment is cleared to avoid furling, grasp your pistol. Remember to fix any grip weirdness in the holster before you proceed, and keep the trigger finger along the frame in “register” or “index” position (not, repeat not, on the trigger). Move the elbow decisively up.
So far, so good: This may be no different from your normal draw stroke. As soon as you reach the comfortable (or practiced) upper limit that clears your holster, drive the elbow down. Here’s where it gets tricky for some: A well-practiced draw embeds in “elbow down” an angle adjustment at the wrist as a predecessor to joining the hands, and eventually, to aiming using the sights. Don’t do this. Rather, preserve the angle created in “elbow up,” and let that index/trigger finger “point.” As with elbow up, drive the motion: Do not be delicate.
Stop your motion now, and look at the angle of your muzzle. Most of us find it within a very few degrees of parallel to the ground, and this is what you are after. In theory at least, you’ve just eliminated half the aiming problem: The vertical component is complete for shots at defensive distances (generally seven yards or less). With practice, and even from cover, you’ll shortly be able to do this in about one second, and it’s possible to shave much more.
Such vertical consistency is what you should, ahem, aim for, and also where the loop closes on the technique vis a vis difficult hand-position shooting. If you are “loose” on these motions, you may have brought your firearm rapidly into play only to have it malfunction on a second shot. (And yes, revolver shooters, you avoid this completely.)
The horizontal or “azimuth” component of aiming isn’t really a hand-position issue as long as you’re consistent in the vertical plane. Here, target focus is the key, and on a small, well-defined aiming point. (For more on point shooting, see this from Darren LaSorte.)
You may now be able to anticipate why malfunctions can and do occur, and hence why this should be practiced. Ideally, our normal shooting has lots of rigidity built in: two hands, just for starters. Shooting with only one hand, we attempt to proxy that rigidity through extension of the arm, but now we’re back to slooooooow, so sketching this in at the end of elbow down defeats the purpose. A forceful, deliberate elbow up, elbow down puts and keeps energy in the arm/hand system and keeps an auto-loading pistol operating.
The end of elbow down corresponds in time to the mount of the trigger, and is followed by an immediate shot. Resist the urge, and especially when you practice, to push the pistol even slightly out and/or up toward the target—doing so adds variability to final hand position that very effectively sabotages learning the point-shooting component of the draw. The firearm “is where it is” at the end of elbow down, and the technique achieves its best accuracy as well as greatest speed by not adding anything to this decisive “stop” of the motion. Notice too, that your firearm is in quite a strong retention position, but we’ll talk more about this down the road. A forceful, deliberate elbow up, elbow down puts and keeps energy in the arm/hand system and keeps an auto-loading pistol operating.
In the early stages of practicing elbow up, elbow down, be mindful of a crucial safety consideration. If you’re indoors and lucky, you’ll only have a snarky question or two from a club employee (something along the lines of, “What’n the hell are you doing!?!”) as dust and pulverized ceiling tile drift lazily to the floor over your lane. If outdoors and unlucky, a county sheriff will ask the same questions about over-the-berm shots. Less tone, perhaps, but more consequence.
Avoid both with careful target positioning—lower on the stand or carrier, quite close (three yards is plenty), and very close to your backstop. This controls up- or down-angle misses safely, but also means you need to know what your backstop consists of: You don’t want ricochets off hard but hidden surfaces coming back at you or others.
Remember too, that this is a close-up technique for when you must deploy and shoot with extreme speed. You can learn to do it at surprising distance, but don’t necessarily need to. Well practiced, a conventional draw should be fast enough for threats much beyond five yards. Inside that, elbow up, elbow down is a superb alternative. Whichever you employ, remember it’s always the third step—the first is avoidance through situational awareness, and the second to get off an aggressor’s “X.”
Now Carry on.
Read Part III here


